Version Control System
- Version Control System: Source code is stored centrally and maintain its version when any changes made. There are two types:
Centralized:
- Central Repository: All source code is centrally managed in one place, user required internet to access the file and make changes and save it.
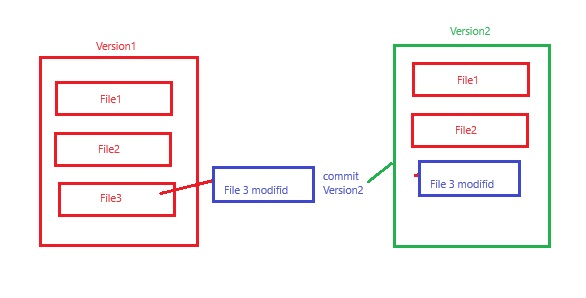
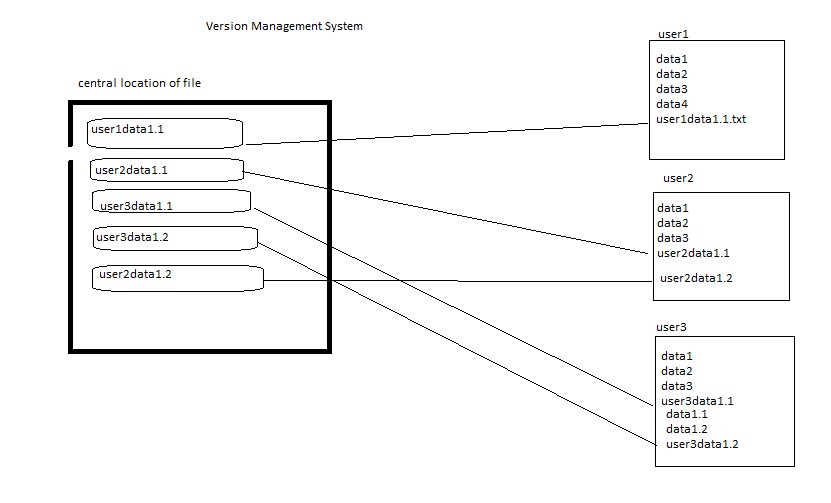
- Central Versioning System/Old Version Control System: when a programmer writes a code or develop a program then it is save locally or in network storage or in cloud. if this file need to amend then again it saved with new name to keep both files, in this scenario only one user can execute the file, if multiple user needs to write on the same file and they all save it with new names then it will be lot of files and make confusion that which programmer has made what changes. The solution came up that keep main file in the central location and all users who are working on that file download in their system and make changes and keep a copy in their local system, once they complete their task on the file then upload in the central location with unique name using their ID and time and date so it can be identified in the central location. If they do not change name then this file will overwite in the central location.
- There will be lot of manual work in the central system to check and remove overwrite, duplication and merge some files. Some one has to manage that which programmer send file first and need to check code is correct then second programmer can use this file and make copies properly and in a sequence manner. In this type of work they required a team to manage files in the central system. Version control system has been introduced. This central location become the server and any user uploading file then its version is maintained automatically in the central system. This version control system also installed on client computer so the client do not need to save file every time when they make changes as it will be done automatically, once they finished the work then final copy will be uploaded in the central system.
- Central Repository: All source code is centrally managed in one place, user required internet to access the file and make changes and save it.
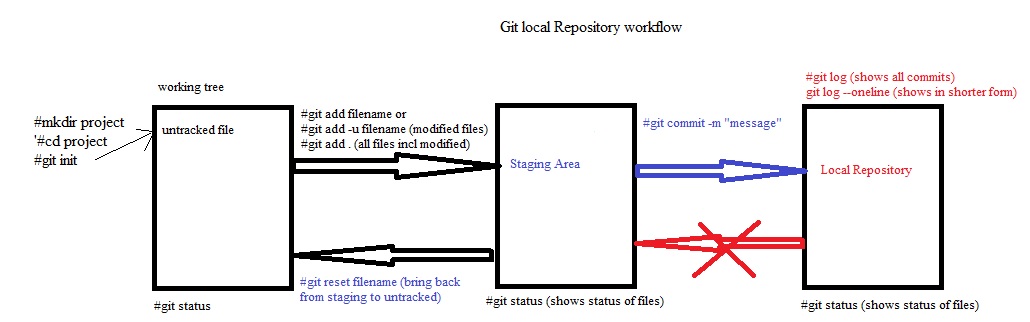
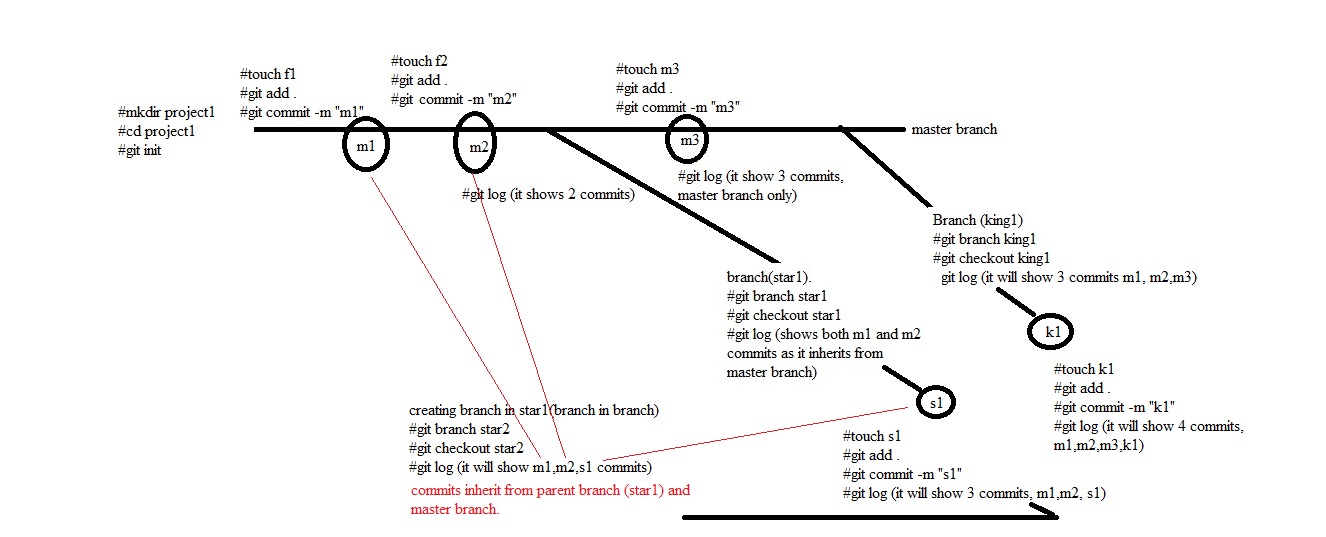
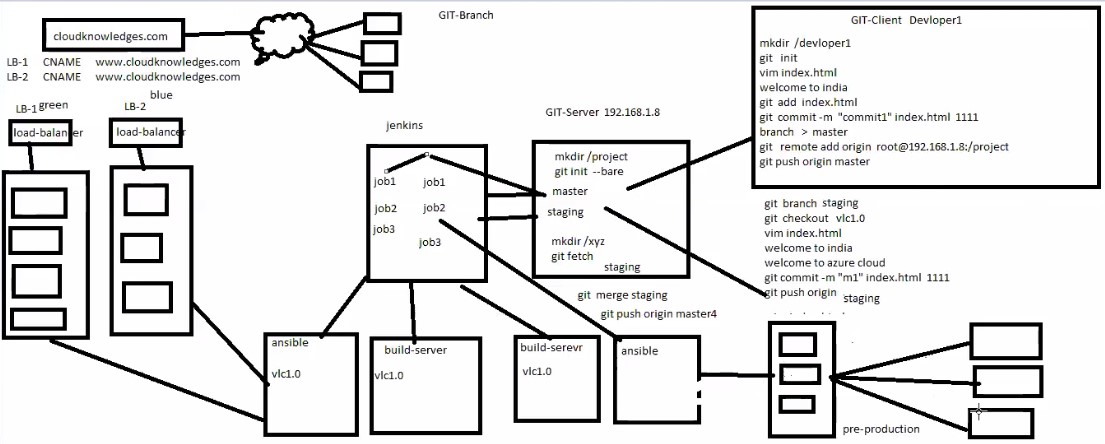
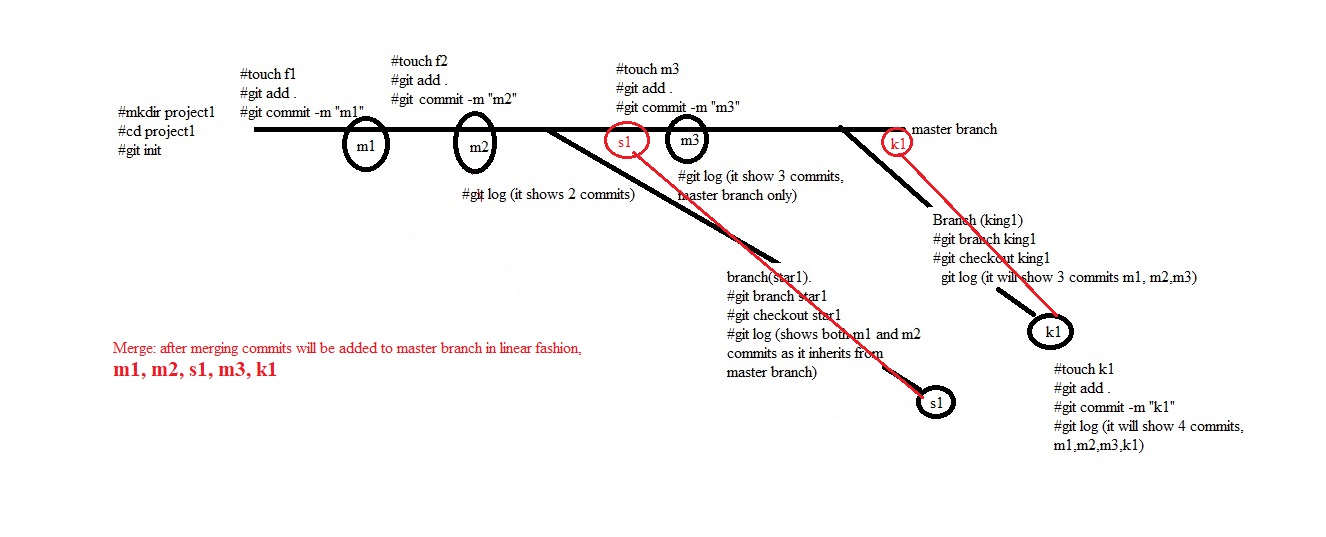
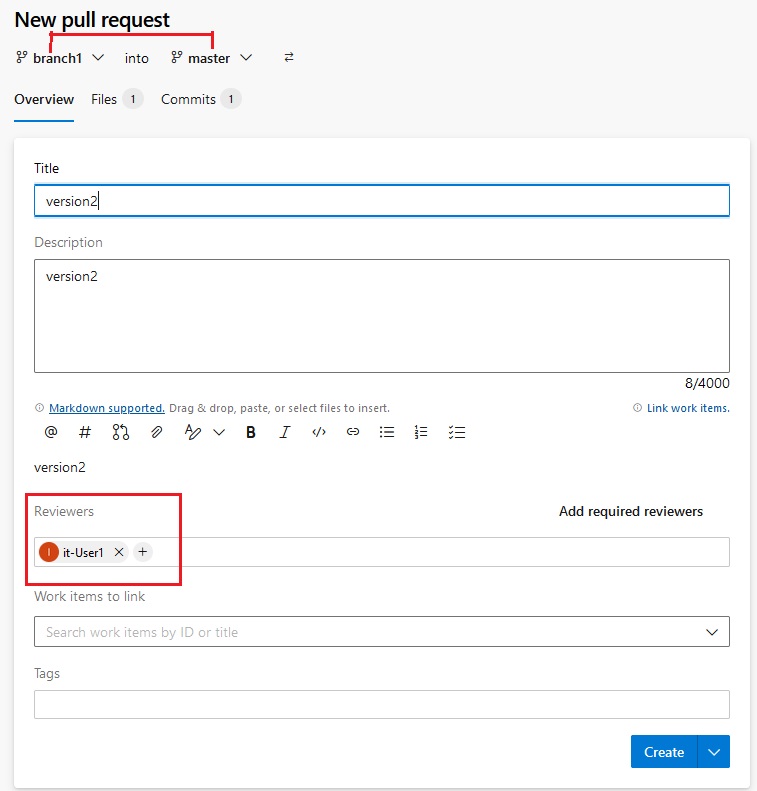
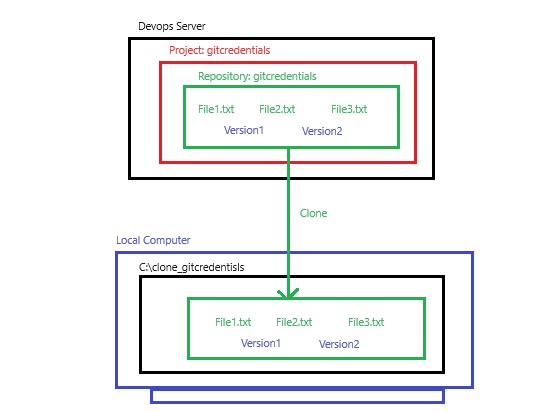
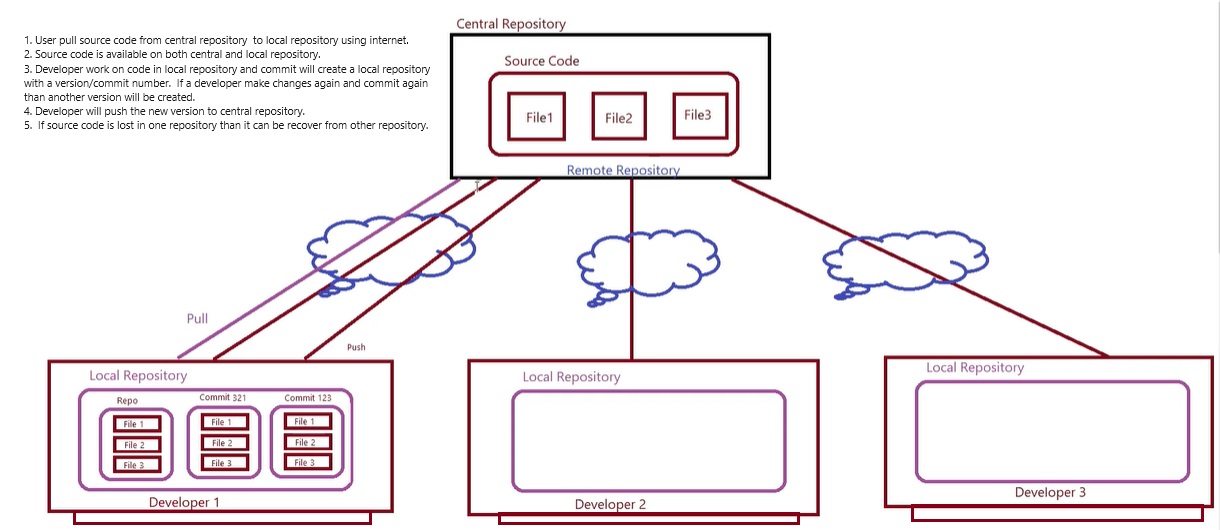
Distributed:
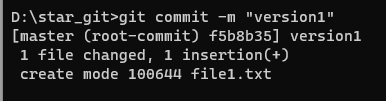
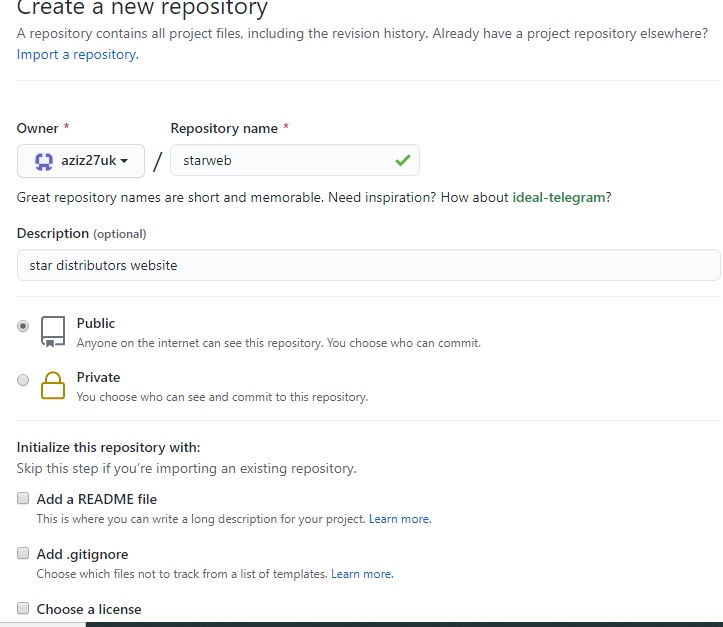
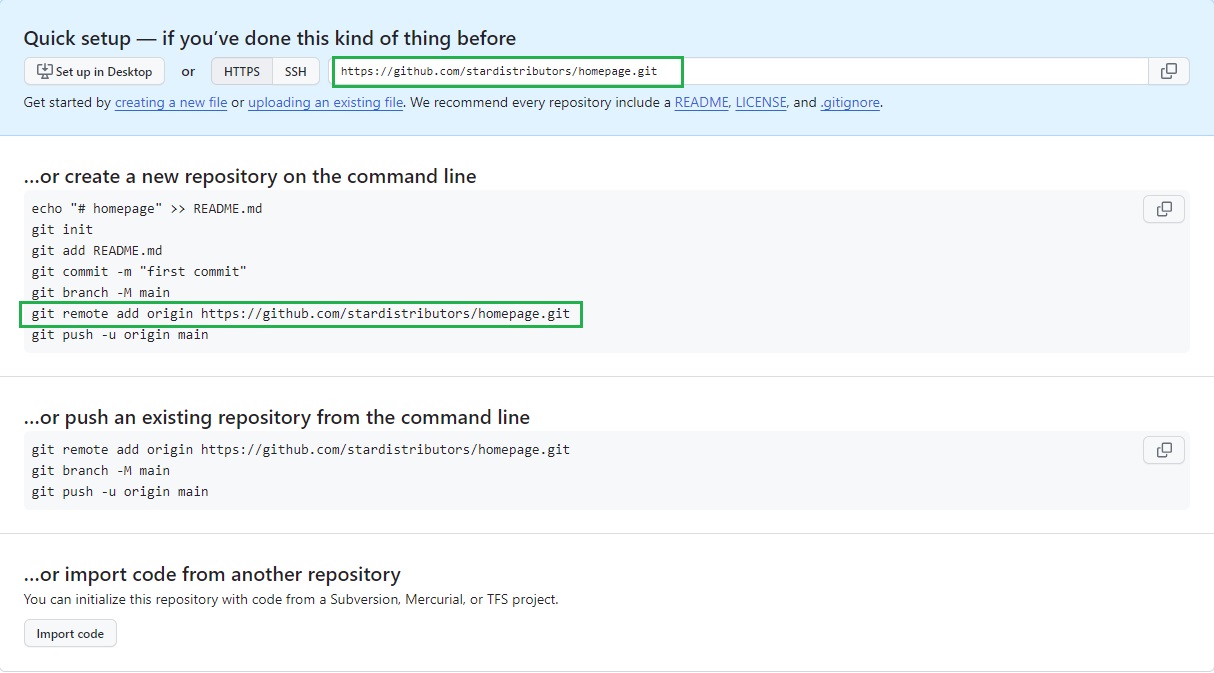
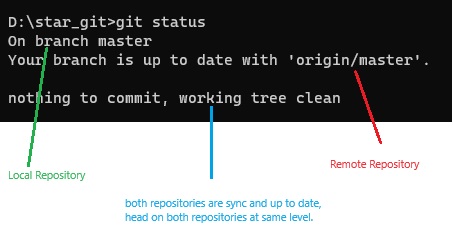
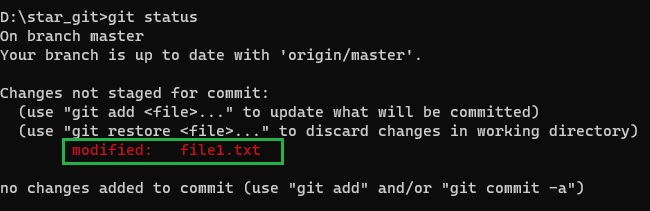
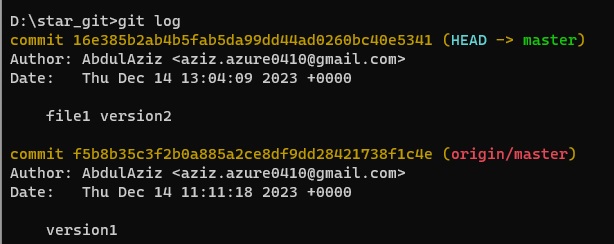
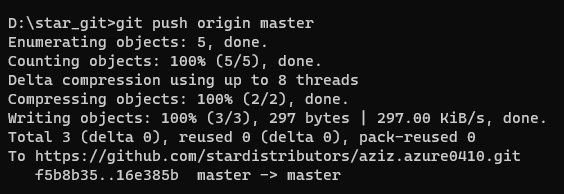
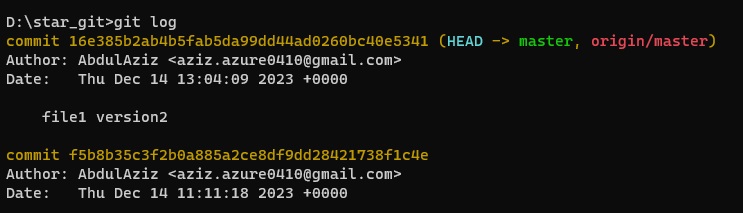
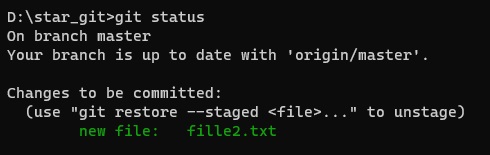
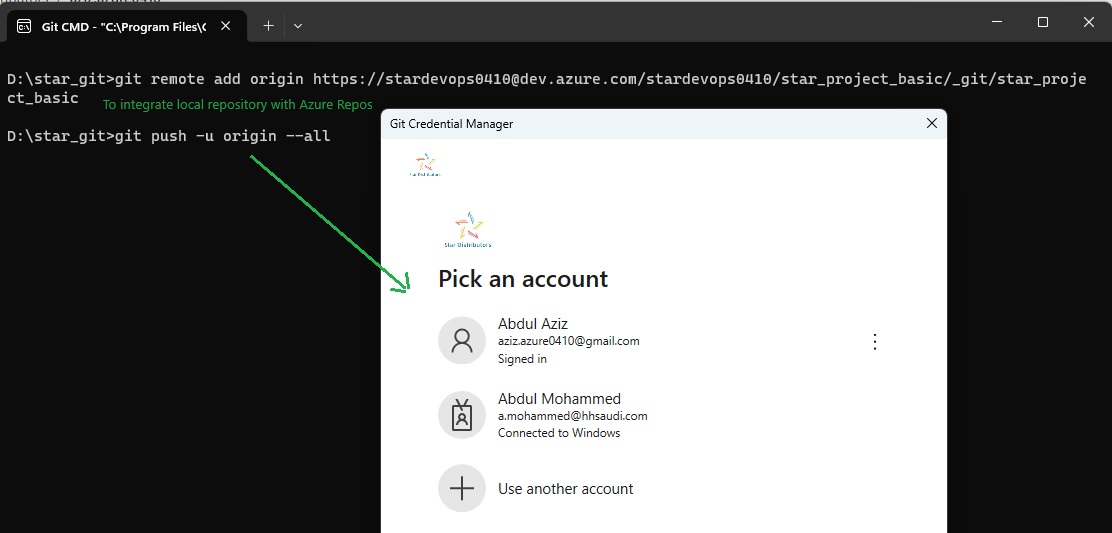
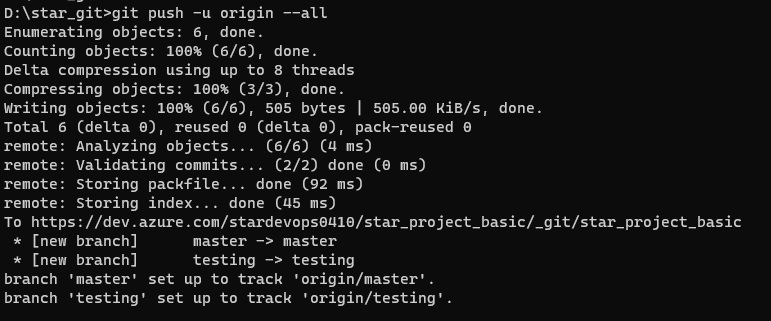
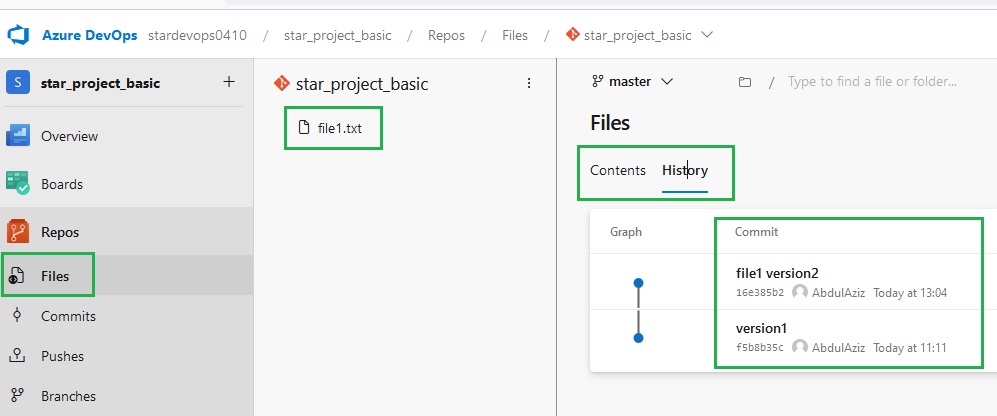
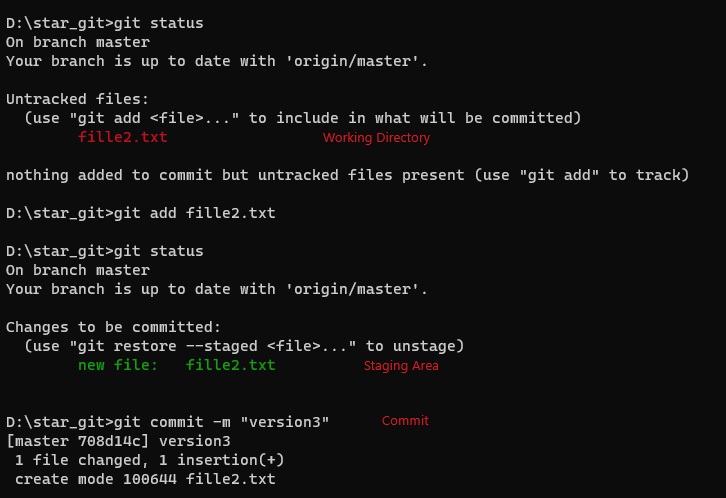
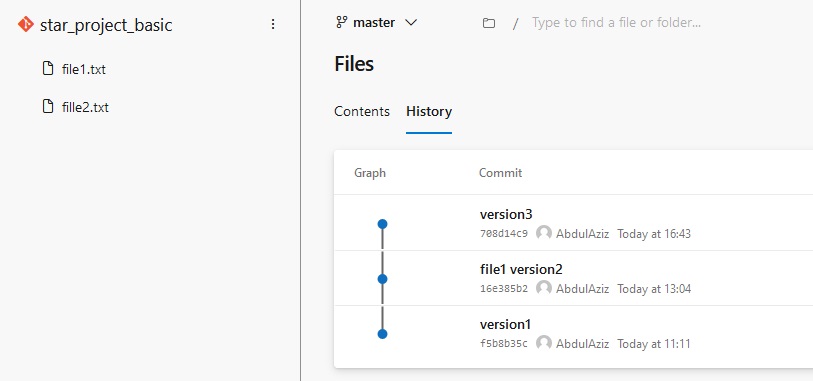
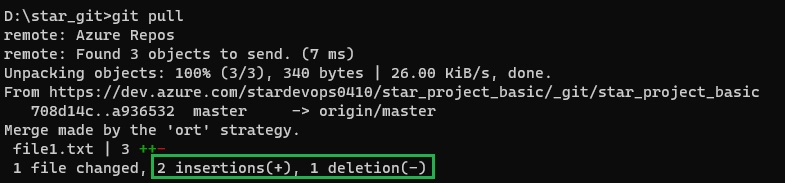
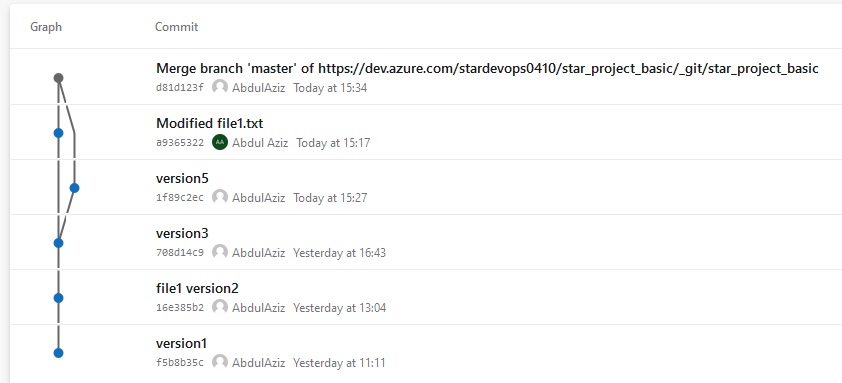
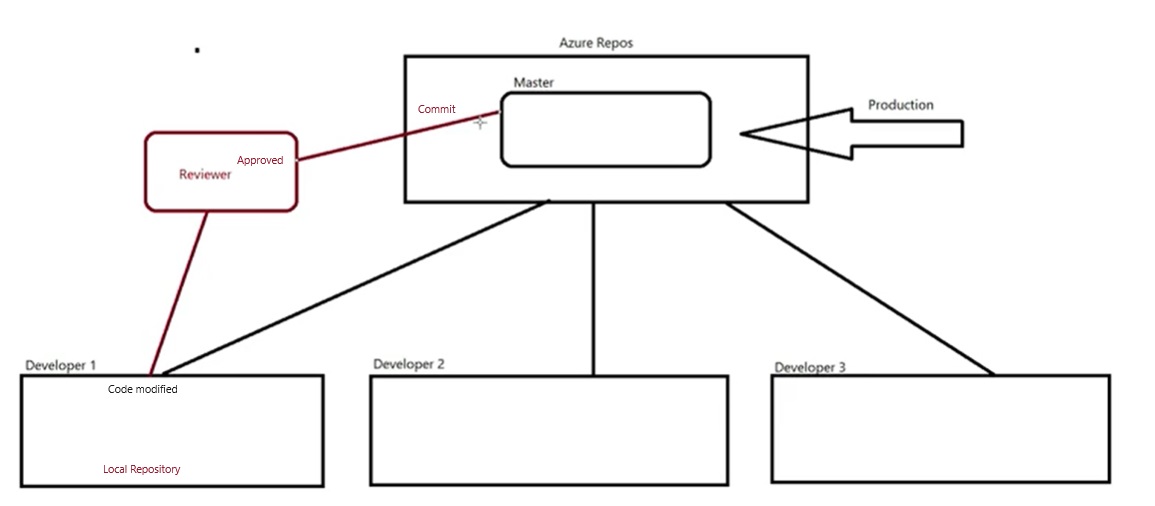
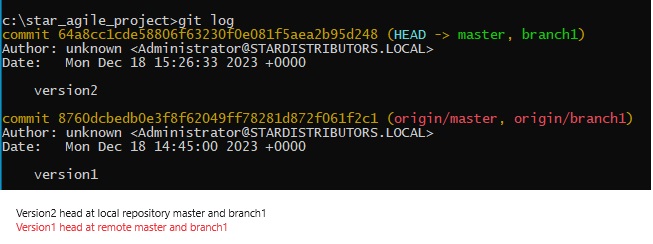
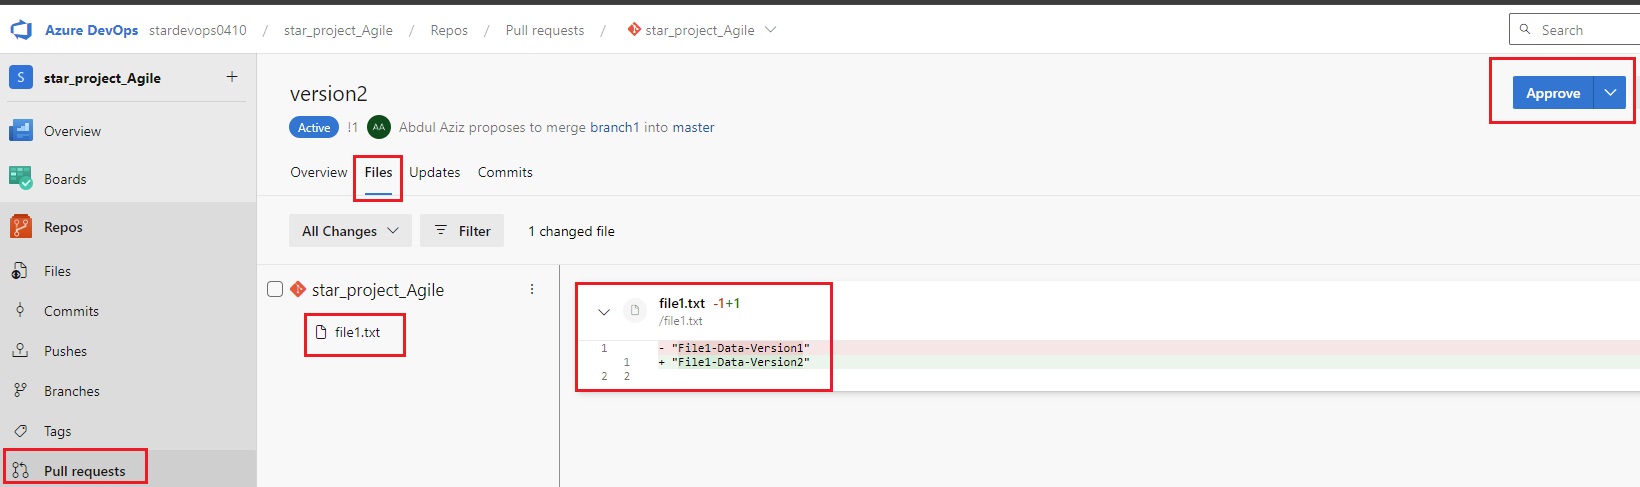
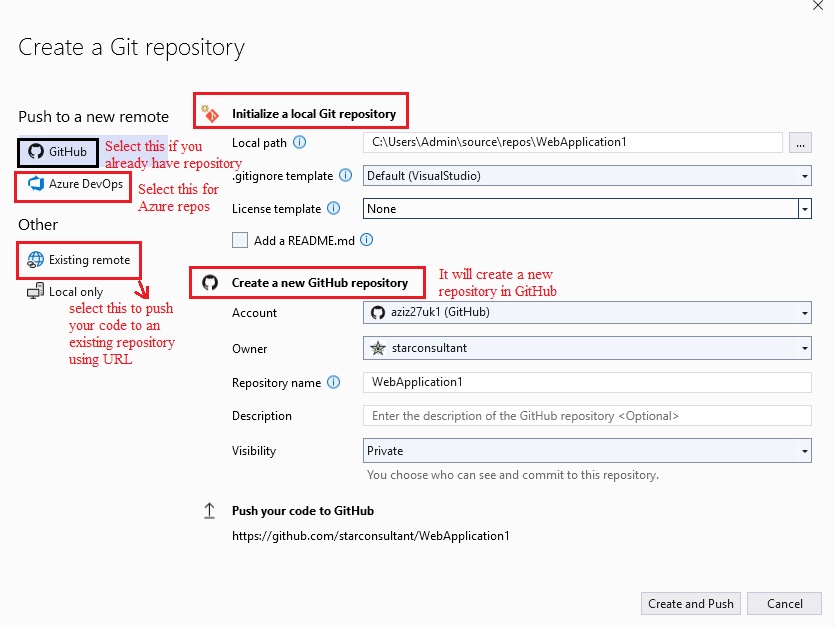
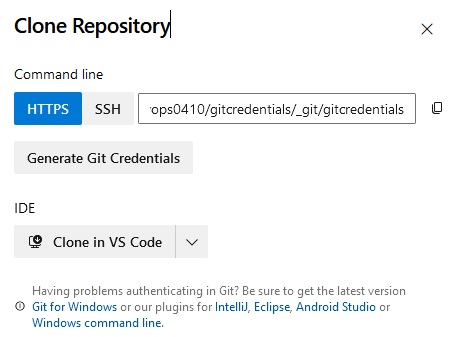
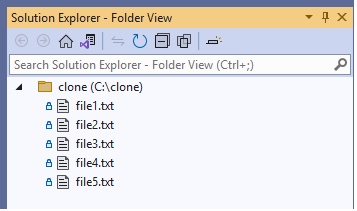
- Distributed Repository: Source code will be pulled in user's computer and users will work locally. Once the code is successfully completed than push/commit to central location. In this user will have a copy of source code as well.
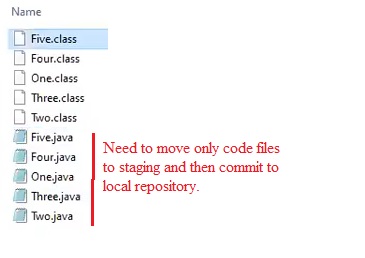
- Code
- Code